
The Ultimate Guide To Split AC Installation and Service
One of the great alternatives during summer days is Split AC. It can help us keep cool and our homes. When comparing a split AC with a Window system, we can see that the earlier has a lot of benefits than the latter. It is a lot quieter, easy to install, and clean. Split AC service at regular intervals is important to give it a long life. There are only two major steps involved in split AC installation in Chennai. In this blog, we have discussed those steps in detail. If you don’t want to hire a professional, you can follow the below steps to install it yourself. But it’s advisable to use professional expertise.
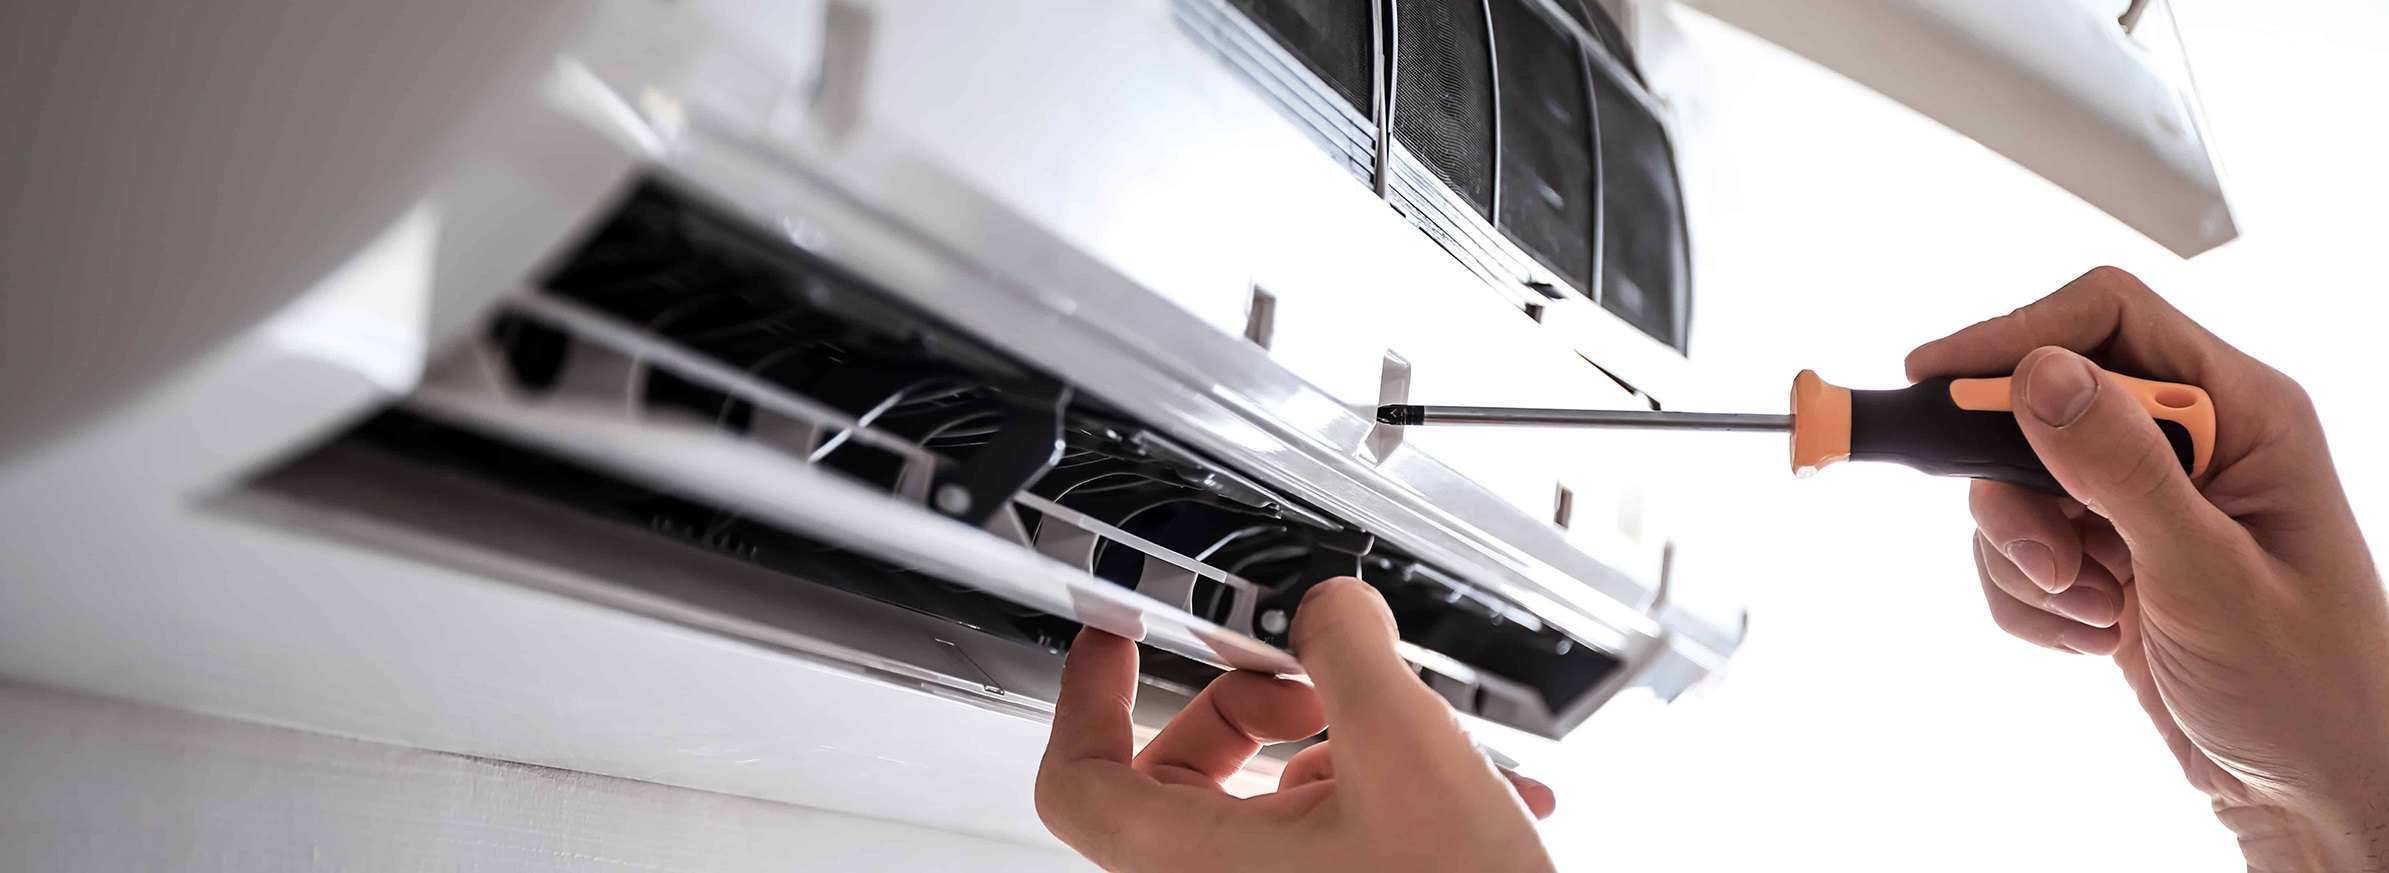
 Installing Indoor Unit
- Location: Select an indoor location on walls to mount the indoor unit. Ensure that the selected wall is not a load-bearing wall as you will need to drill holes for drainage pipes and other electrical wires. The split AC unit should be installed 7 feet above the ground and should at least have 30 cm open space around it.
- Mounting plates: Place the mounting plate against the wall where you want to set it up and use a pencil to mark the locations of the screw holes. Make sure the plates are at level. Now drill holes into the wall for each screw. With the help of the plastic anchors, secure the mounting plates.
- Drain and other pipes: Drill a hole for about 3-4 inches in the wall to feed the pipes. Make sure the opening is slanted downward for proper drainage. Feed the pipes and cables through the hole and then connect them to the indoor unit. The outside pipes should not touch the ground. You can also refer to the instruction manual specific to your split AC installation in Chennai.
- Install indoor unit: Fasten your indoor unit with all the pipes and cables attached to the mounting plate. Align the slots on the indoor unit with the slots provided on the mounting plate. Now carefully mount the AC unit to the plats. Before mounting, ensure to check the electrical connections on the indoor unit. Test if all the cables and wires are connected properly and working.
Installing Outdoor Unit
- Location: Find a location accessible to the holes drilled for pipes to set up the outdoor unit. The location should have less exposure to the sun and should at least have 12 inches of open space around it. The outdoor unit should be installed within 50 inches of the indoor unit.
- Brackets: Select an appropriate place to fix brackets for the outdoor unit. Align the brackets on the wall and mark the places to drill screw holes. Now, attach the brackets to the holes with the help of screws.
- Install the outdoor unit: Mount the outdoor unit on the brackets in such a way that the screw holes on the bracket align with the slots on the outdoor unit. With the help of the bolts provided, attach the outdoor unit to the brackets.
- Pipes and cables: Connect all the pipes, wires, and cables to the outdoor unit from the indoor unit as per the instruction manual. Connect the power supply to the outdoor unit as well. Refer to the instruction manual to connect the electrical wiring and make required adjustments.
 Quick tips:
- Secure the pipes, cables, and wires with electrical tapes to restrain them from moving around.
- If the holes drilled for the pipes are oversized, you can seal up the extra open space with white cement or polyurethane foam.
We hope that you would utilize these tips to help yourself. You can also find assistance for a good Split AC service in Chennai anytime.
Also, keep in mind that Utilities Integrated provides the best Split AC Installation Service in Chennai to our customers. We guarantee satisfactory service.